Soot Cleanup Unleashed: A Step-by-Step Process
After a fire has wreaked havoc on a property, thorough Fire Damage Restoration is essential. A key component of this restoration is effective Smoke Damage Cleanup, specifically focusing on meticulous Soot Removal. The following guide outlines a structured soot cleaning process, detailing the manpower required, the equipment needed, and the step-by-step procedures to restore your home to a clean and sanitized state.
1. Manpower and Preparation
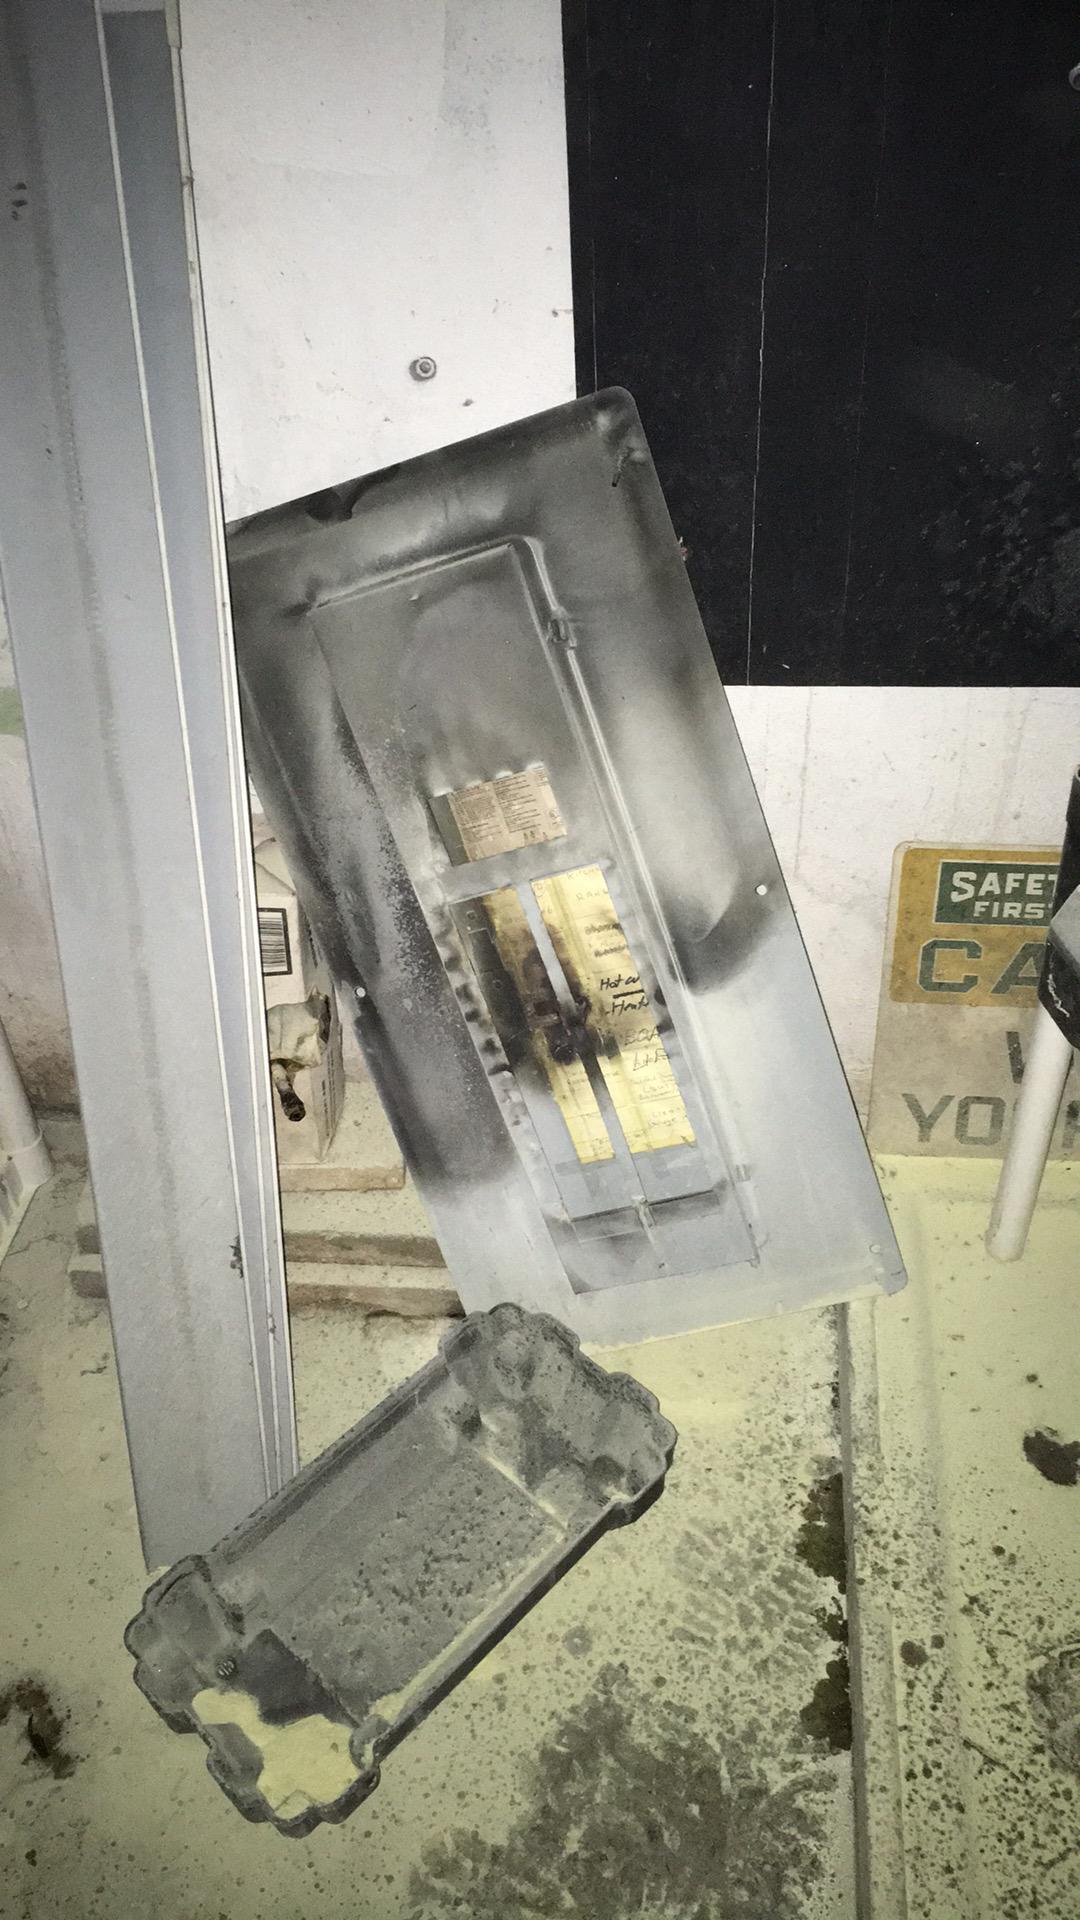
A successful soot cleanup requires a dedicated team of trained professionals. For every 1,000 square feet of affected area, a crew consisting of 3 to 5 technicians is typically assembled. These experts have specialized training in Emergency Fire Restoration Services, ensuring that every stage of Fire Damage Restoration is performed safely and efficiently. Prior to initiating the cleanup, the team conducts a thorough Fire Damage Assessment to determine the scope of the soot contamination, document areas requiring attention, and prepare for the necessary phase of Fire and Water Damage Repair. This initial documentation supports Insurance Claims for Fire Damage while providing a baseline for the cleanup operation.
2. Equipment Essentials
Proper equipment is critical for successful Soot Removal and Smoke Damage Cleanup. The process relies on a variety of specialized tools:
- Dry Cleaning Sponges: Designed specifically for soot, these sponges gently lift particles from surfaces such as walls and ceilings without smearing.
- HEPA-Filtered Vacuums: These vacuums capture ultra-fine soot particles, ensuring that the air remains clean and sanitized.
- Microfiber Cloths and Brushes: Used to wipe down surfaces that have been pre-treated with cleaning agents.
- Industrial-Grade Cleaning Agents: Formulated to break down and dissolve soot, ensuring effective Soot Removal on even the most stubborn residues.
- Personal Protective Equipment (PPE): Including respirators, gloves, and coveralls, PPE is essential to protect technicians while handling contaminated materials.
3. The Soot Cleaning Process
The process begins with detailed surface preparation. Technicians cover unaffected areas with protective plastic sheeting and seal off the work zone to prevent cross-contamination. With the area secured, the team proceeds with the following steps:
a. Dry Cleaning:
Using specialized dry cleaning sponges, technicians gently blot and remove loose soot from surfaces. This initial step is critical to prevent the smearing of soot during subsequent wet cleaning phases.
b. HEPA Vacuuming:
After dry cleaning, a HEPA-filtered vacuum is employed to extract any remaining fine soot particles, especially from porous surfaces such as drywall and wood. This step ensures a higher level of cleanliness, as the vacuum system helps capture particles that could otherwise lead to residual smoke damage.
c. Wet Cleaning:
Technicians then apply an industrial-grade cleaning solution to surfaces, carefully scrubbing with microfiber cloths and soft brushes. This wet cleaning phase further dislodges soot particles, leaving surfaces clean and sanitized. Areas near a bathroom, sink, or toilet – where moisture and humidity often complicate cleanup – are treated with extra care.
d. Final Inspection:
A final review is conducted to ensure that all soot has been thoroughly removed, and the area is restored to a condition suitable for the next stages of Fire and Water Damage Repair. Detailed documentation is recorded to support any subsequent Insurance Claims for Fire Damage.
Conclusion
Through careful planning, experienced manpower, and the right equipment, the soot cleaning process during Fire Damage Restoration can be executed effectively. This step-by-step guide ensures that even the most contaminated areas receive thorough Smoke Damage Cleanup and Soot Removal, setting the stage for a clean, sanitized recovery and facilitating successful insurance claims. Trusting professional Emergency Fire Restoration Services guarantees that your property is restored with precision and care.